
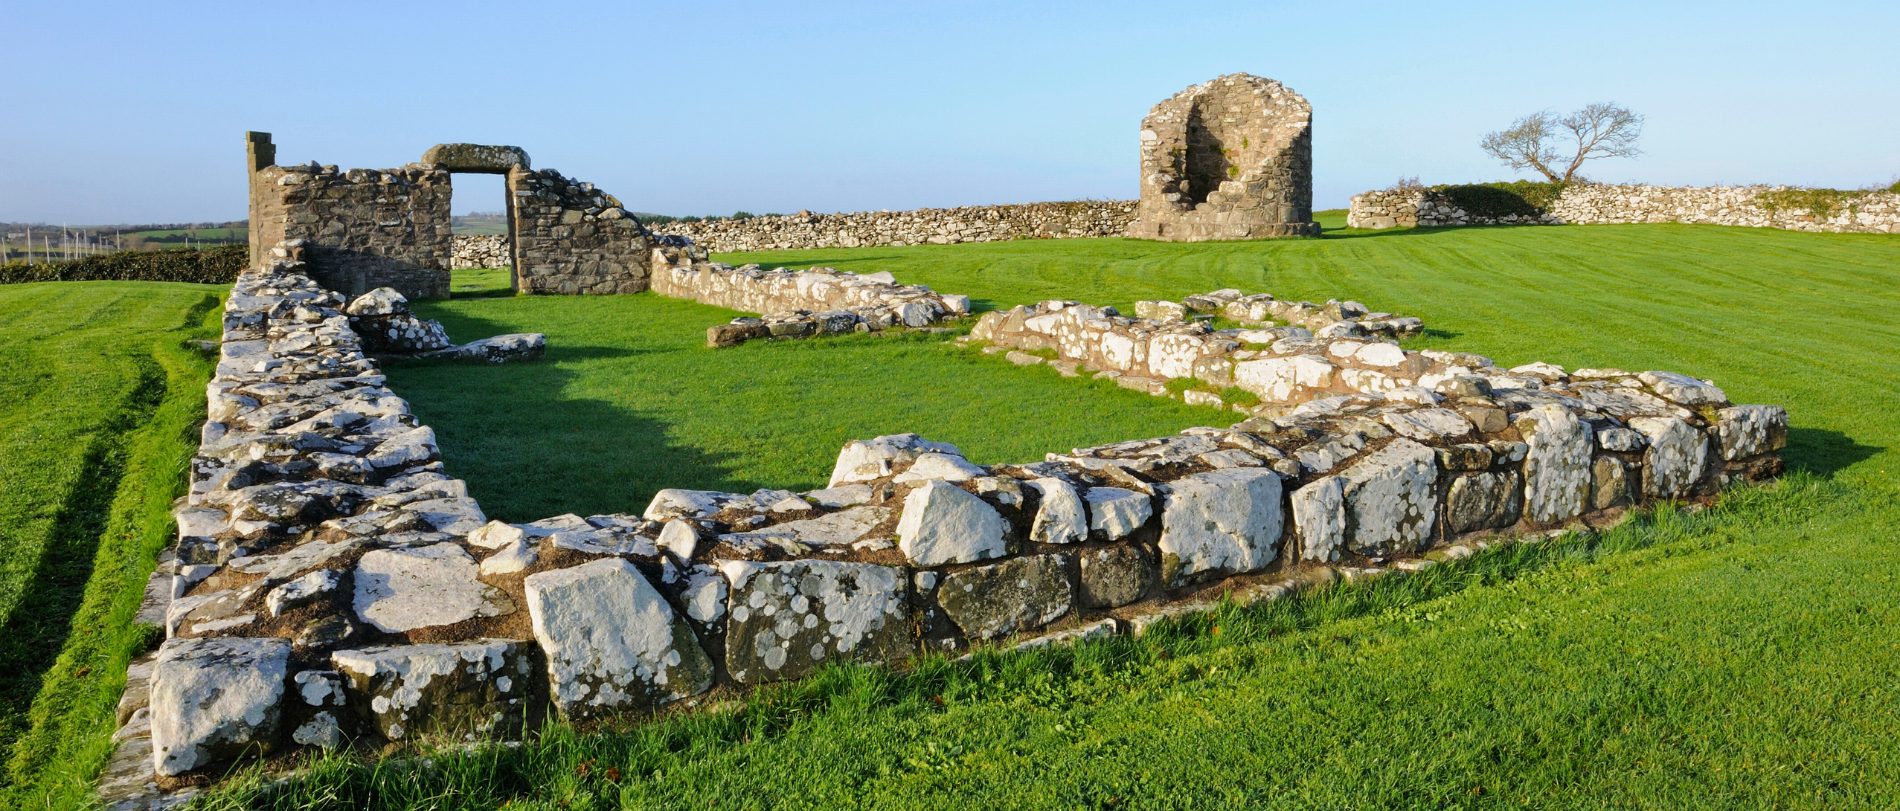
As you can tell from the title, archaeology involves learning new terminology, which I will now explain in the context of my experience at Clonoghil Castle, the site of the Monastic Midlands Excavation.

- “Cutting”
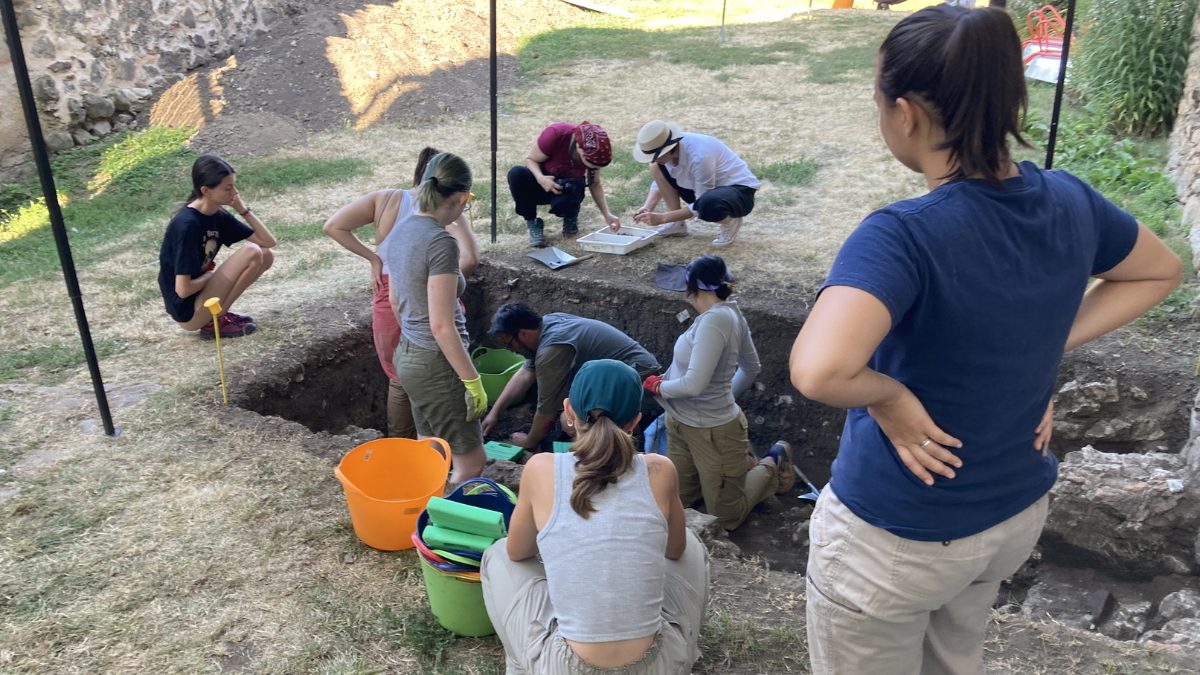
This is the term that we used to describe the excavation sites, or as we called them, the trenches. I worked in the cutting shown in image B, within the castle, and it was crazy to see the progress we made from the trench being about 2 feet deep to about 4 feet deep!
This is an essential term in the field, since it is one of the most used and describes the site at which most of the work is being done.

Cutting 1 (outside Clonoghil Castle)

Cutting 2 (inside Clonoghil Castle)
2. “Creating a plan” or a “plan”
Creating a plan is essentially creating a scale drawing of the site (a plan), whether that’s specifically the cutting in which we were digging or the entire site we were working on. This was one of the more tedious parts of field school, since we were required to take measurements and scale them onto paper, but I loved it! It was fun to see how what we saw on the ground could translate onto paper. It’s also a great team building exercise since at least two people are required to complete the task.

My friend and I after completing the first plan for cutting 2 (we are very proud)
3. “Elevation drawing”
This is a scale drawing of a vertical plane (as opposed to a plan being of a horizontal plane, like a cutting), such as a wall or sediments that shows its specific shape and/or layers that are relevant to archaeological study. I worked on drawing elevations for the walls of Clonoghil Castle.
This process also requires two people, minimum, though preferably three. Again, this involves measurements and scaling them onto graph paper with specific measurements. This was another one of my favorite tasks!

Elevation drawing of one of the walls of Clonoghil Castle

Not the wall we drew, rather the wall on the opposite side, which was also drawn
4. “Feature sheets”
These were forms that we had to fill out with the information of individual features, or spaces that were deemed archaeologically distinct from others, on the site. The forms were completed by taking measurements of the feature, sketching the feature, and taking details of the materials used to create it. It also varied depending on whether or not the feature was in the cutting or part of the castle structure.
This task could be done by one or more people. I was able to complete most of the work on my own, with occasional help from others to stretch out my tape measure or from the field directors about the specific details I needed to include.

Taking measurements for a feature sheet
5. “Taking levels”
This was probably the most interesting thing we did, because I did not think it was necessary to the study of archaeology. It might be obvious that one would have to draw the site or its walls, but to take the elevation above sea level? Not so obvious.
And that’s exactly what taking levels is. We utilized a total station (or a device that measures the elevation of something in relation to itself) to find the elevation above sea level of different features (or archaeologically important variations) in the cuttings. In the pictures, I am holding the device used by the total station to gauge the elevation of the feature.

Me helping with taking elevations
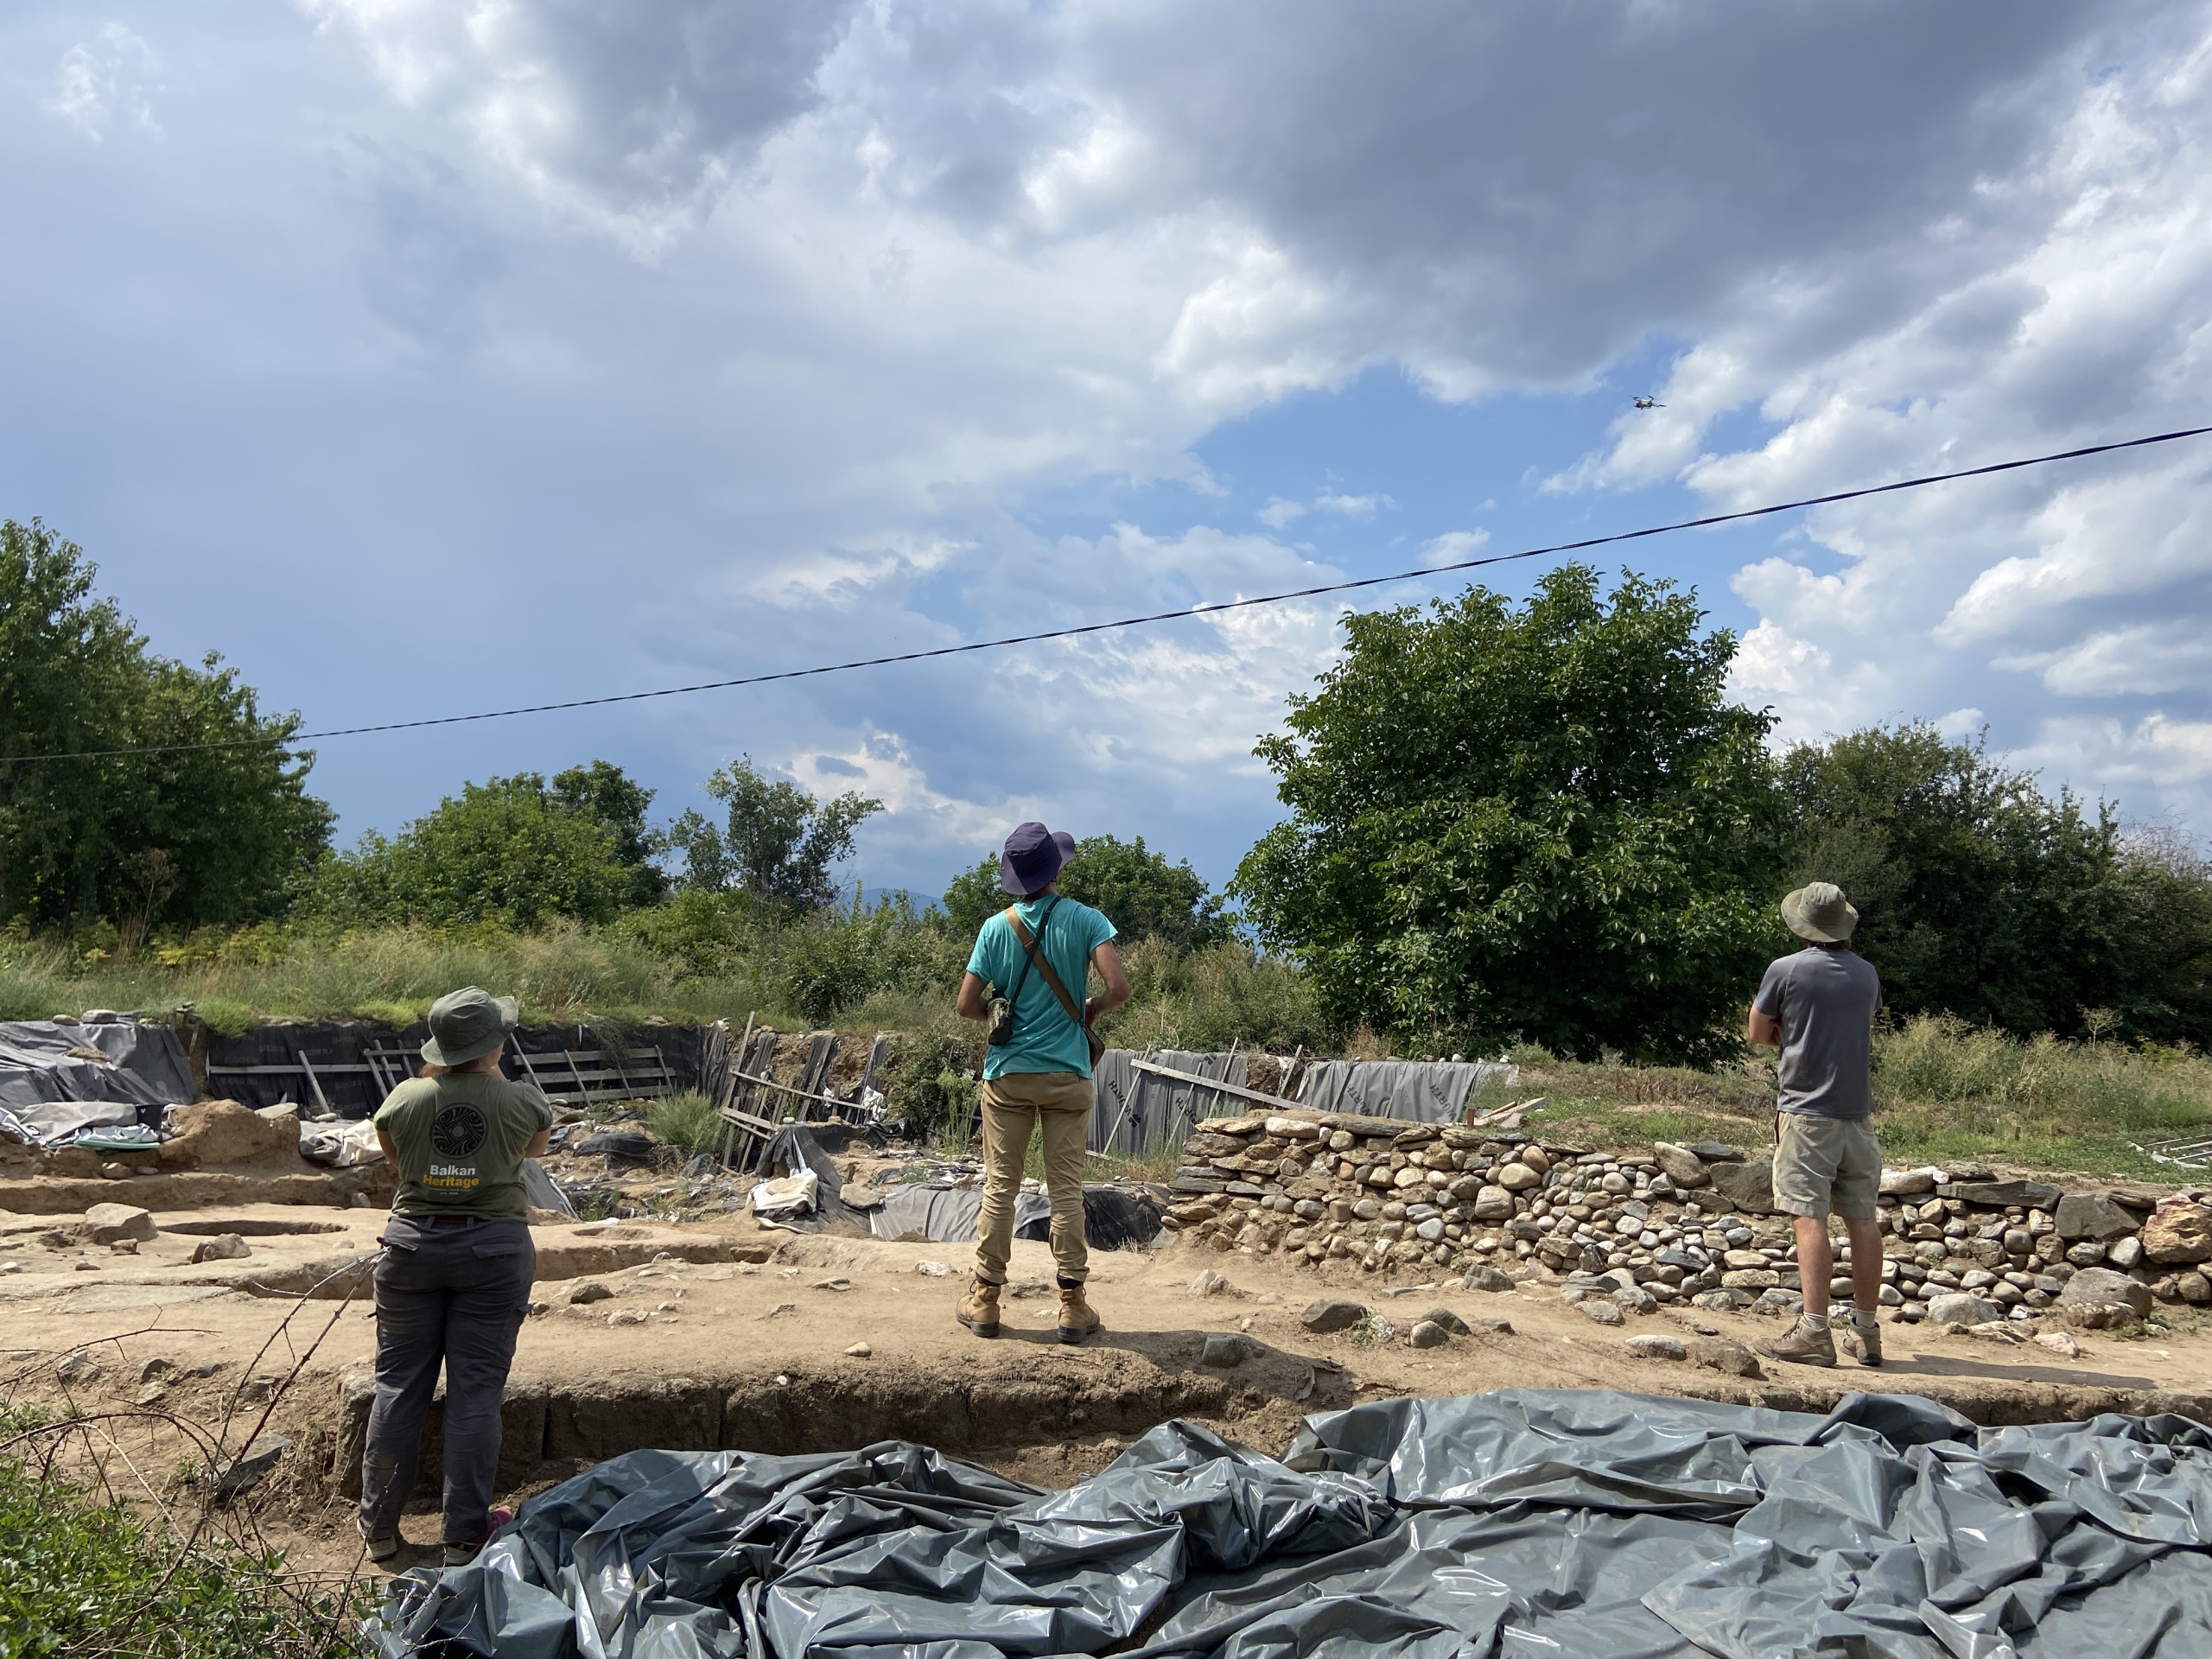
6. “Photogrammetry”
This is kind of a wild card. This isn’t specifically related to archaeological field work, rather, a form through which archaeological study can be conducted.
Photogrammetry is the process of taking photographs of an artifact, monument, or feature to produce a three-dimensional model. We only had the chance to work on the photography part, but were able to see some of the models we produced at the end of the field school.
The reason I think this was worth mentioning is because it’s not what I would traditionally have conceived as ‘archaeology,’ but it was archaeology nonetheless, and I had so much fun doing it!
This work is mostly completed alone, since you don’t want other people in the background, since that could disrupt the model and confuse the software, but it was really enjoyable (especially since Irish weather isn’t uncomfortable!).

7. “There is no such thing as dirt!”
One day one we were warned that we should not include “dirt” in our field notes (though I did earlier in this blog… sorry Denis!). It was clear that, for the purposes of our work, “there is no such thing as dirt!”
We were told dirt was too general and that we needed to use specific terms like soil or clay to describe the different types of sediments we encountered. While sometimes a challenge, it helped me learn more about the geological process and aspects of archaeology.
")
Me digging in cutting 2… surrounded by not-dirt
8. Sieving (Sifting)
So, here’s the thing, I speak American English, but my field school took place in Ireland… so, a lot of what I knew wasn’t so easily applied elsewhere.
Specifically I’m talking about sieving, for my American brain, is “sifting,” a non-existent word in Ireland. Sieving is the process of taking a bucket full of smaller materials that have been dug up and running it through a sieve (like a giant pasta strainer or sifter) to sort it. The idea is to separate the archaeologically-relevant materials from unimportant debris. This was actually my LEAST favorite part of field school, I felt like my brain was exploding looking at a bunch of dirt mixed in with bones, glass, and so on. But still, it was important!
Share this article
Follow us
Latest articles
July 24, 2026
July 24, 2026
July 24, 2026